
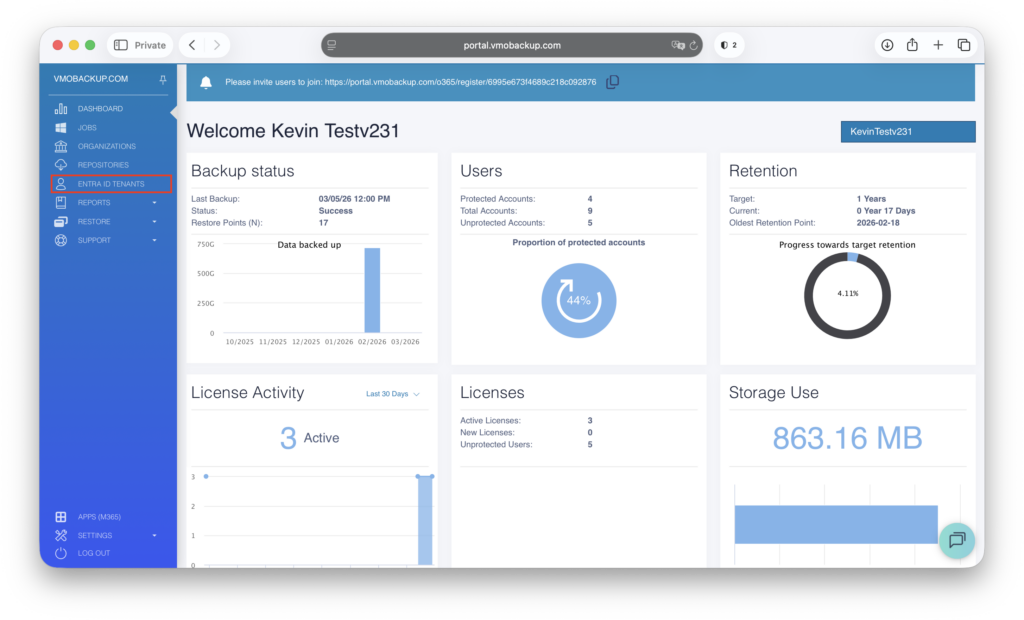
Connecting Entra ID #
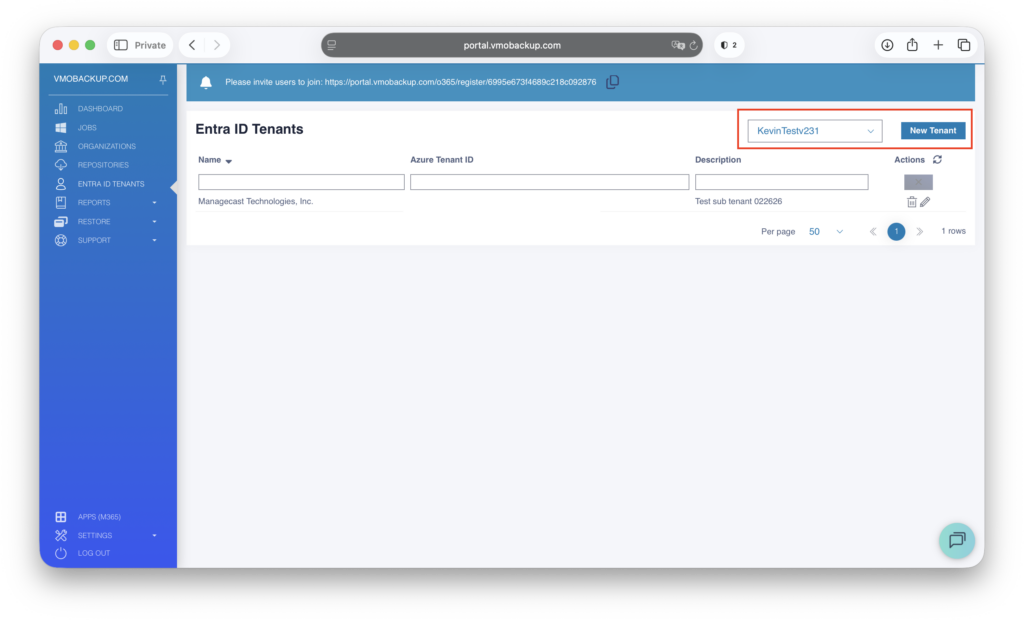
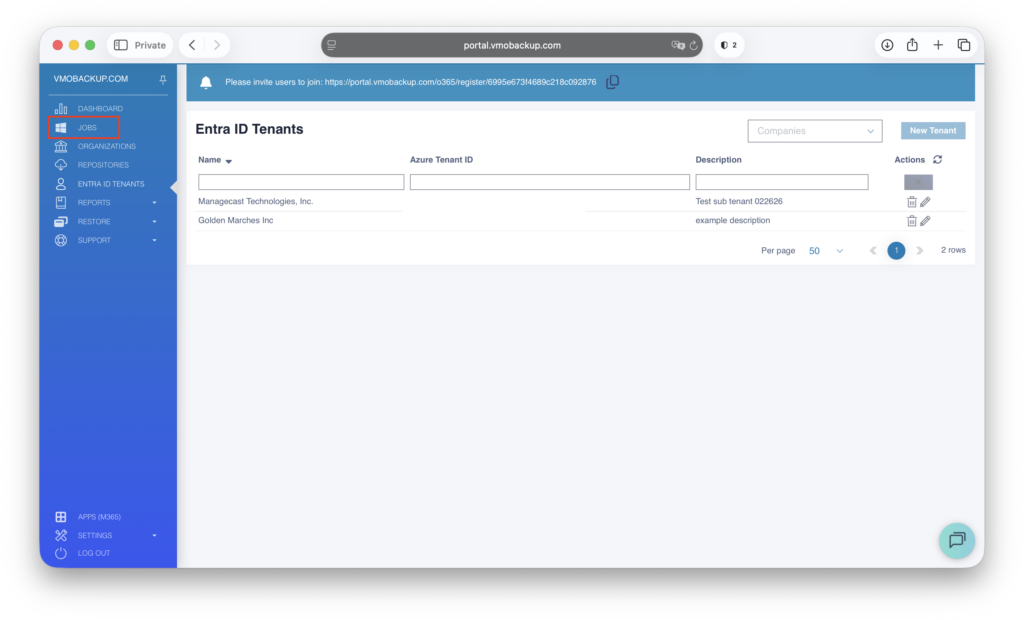
- Navigate to the Entra ID Tenants tab.
- From the Company drop-down menu, select your organization.
- Click New Tenant.
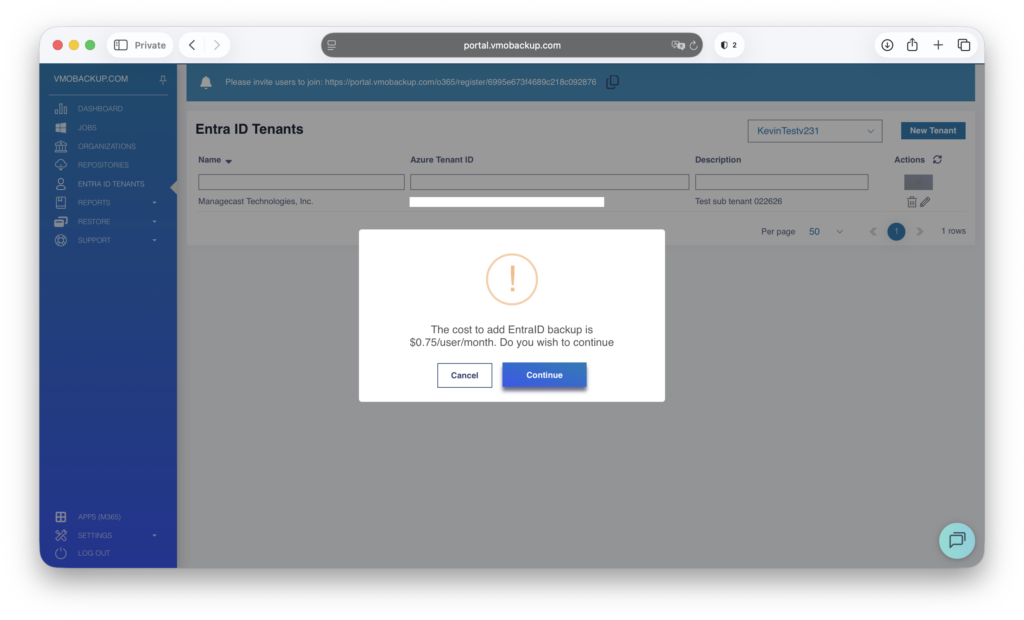
- Review the Entra ID information presented, then select Continue.
- Authenticate to the organization using an account with Global Administrator privileges, then click Save.
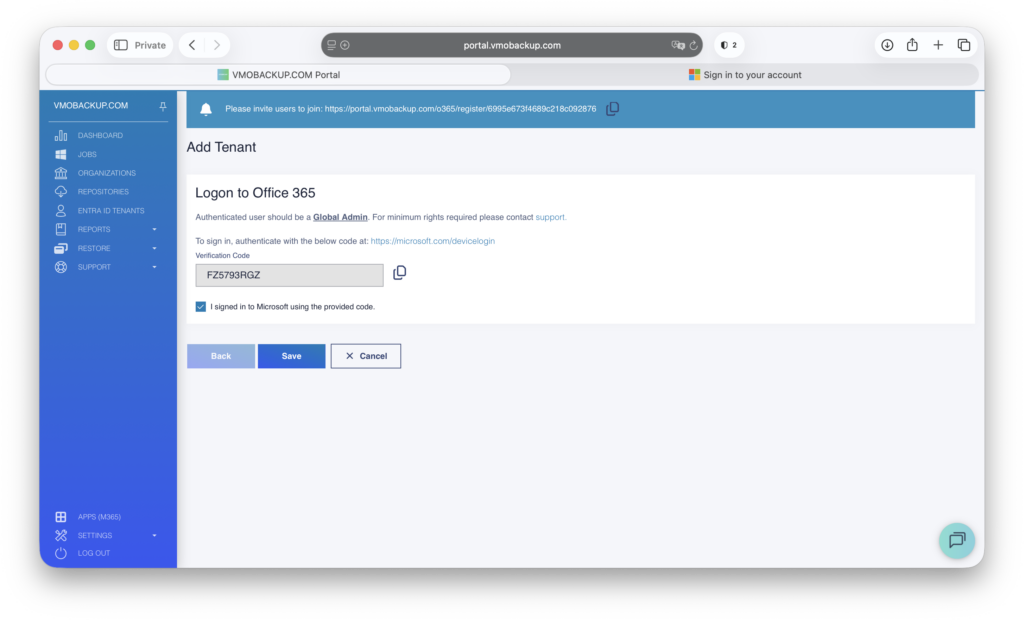
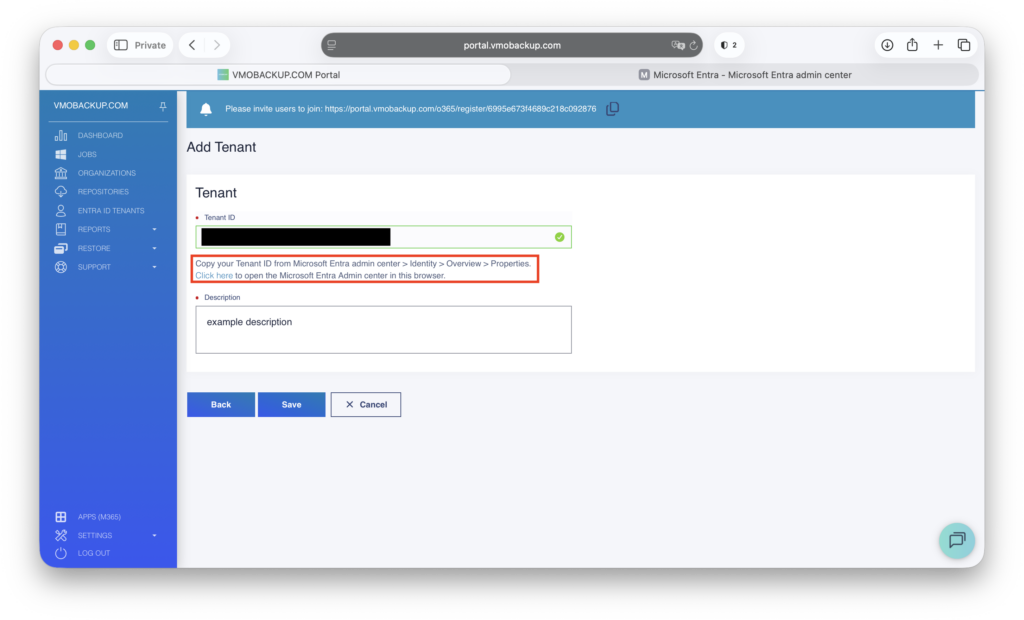
- Enter the Tenant ID, provide a description, and click Save.
- The Tenant ID can be located on the home page of the Microsoft Entra Admin Center: https://entra.microsoft.com/#home
You’ve successfully connected Microsoft Entra ID!
Setting up the Entra ID Backup #
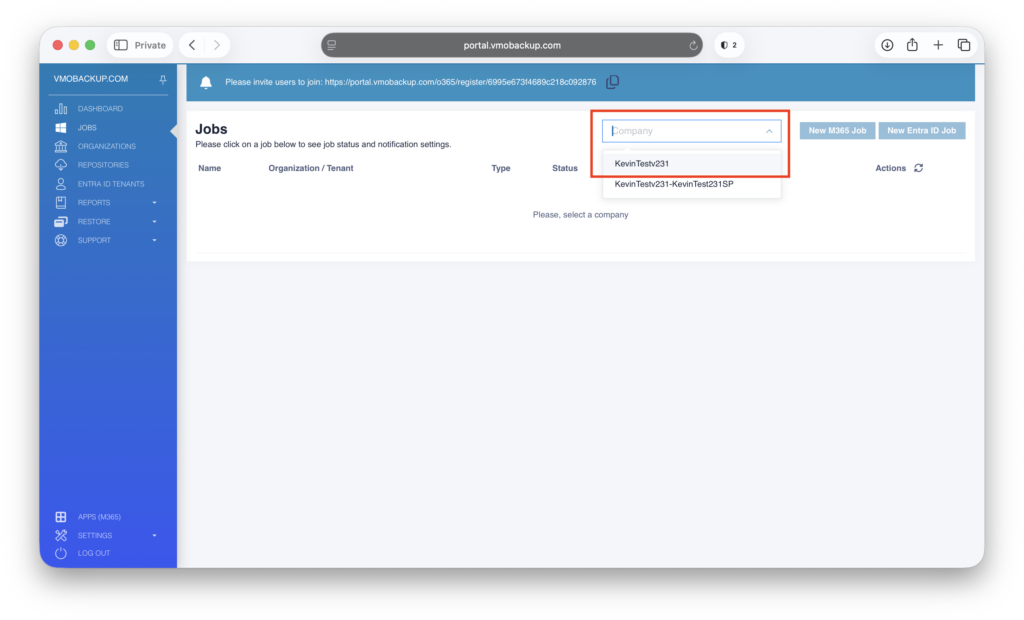
- Navigate to the Jobs tab.
- From the Company drop-down menu, select your organization.
- In a multitenant environment, ensure you select the appropriate company for which you are configuring the job.
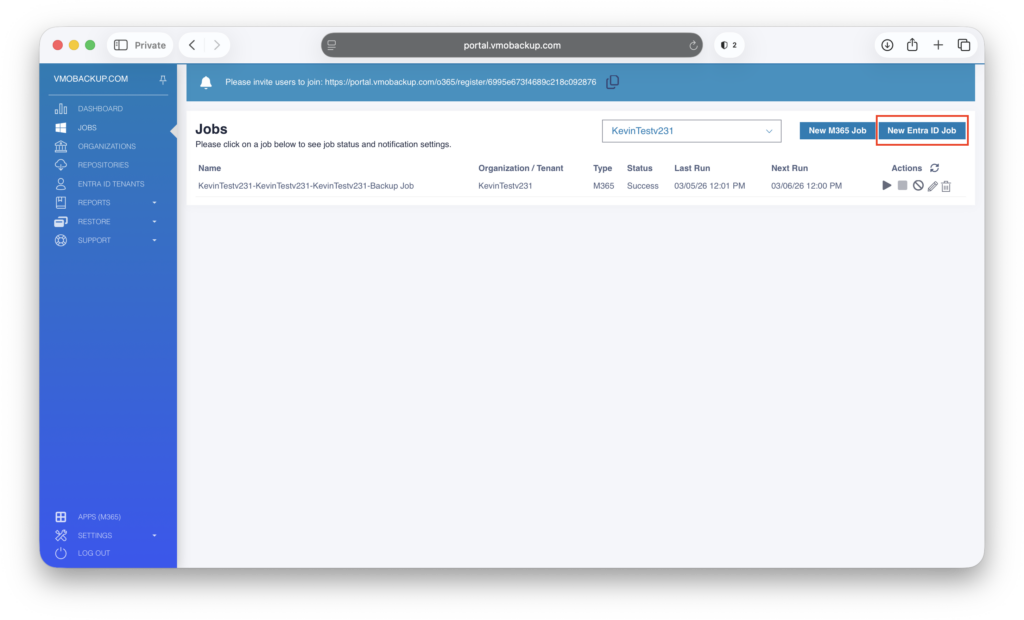
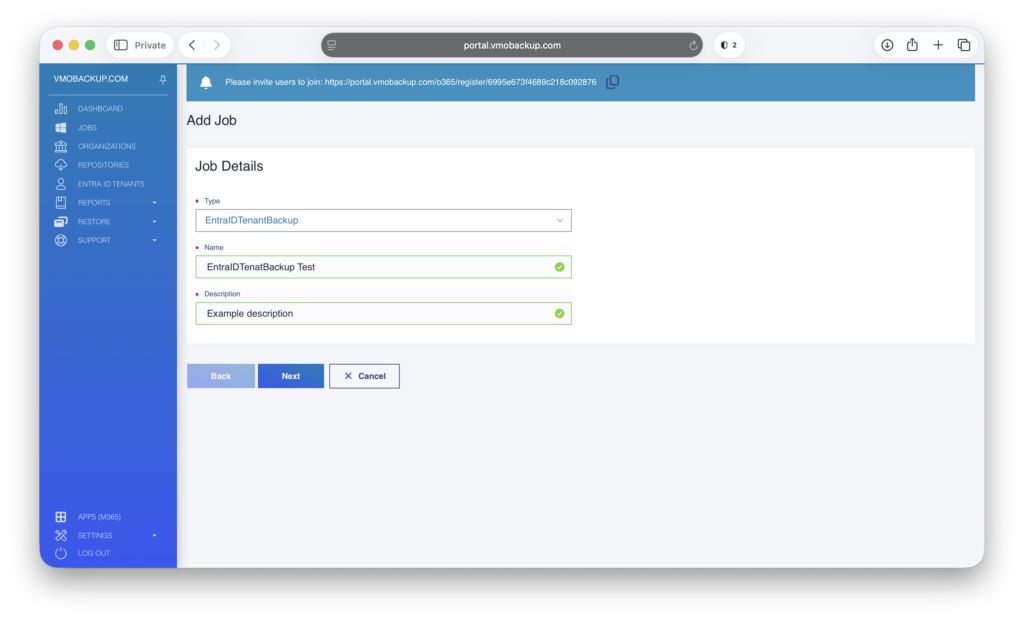
- Click New Entra ID Job.
- Select the appropriate Entra ID job type:
- EntraIDTenantBackup
- EntraIDAuditLogBackup

- Enter a descriptive name for the job (for example, Entra ID Backup or Entra Audit Logs).
- Provide a clear description for the job, then click Next.
- Configure the schedule by selecting when and how frequently the job should run.
- Ensure that Run the Job Automatically is enabled.
- (Optional) Enable email notifications to receive confirmation once the job completes.

- Review and save your settings to finalize the configuration.
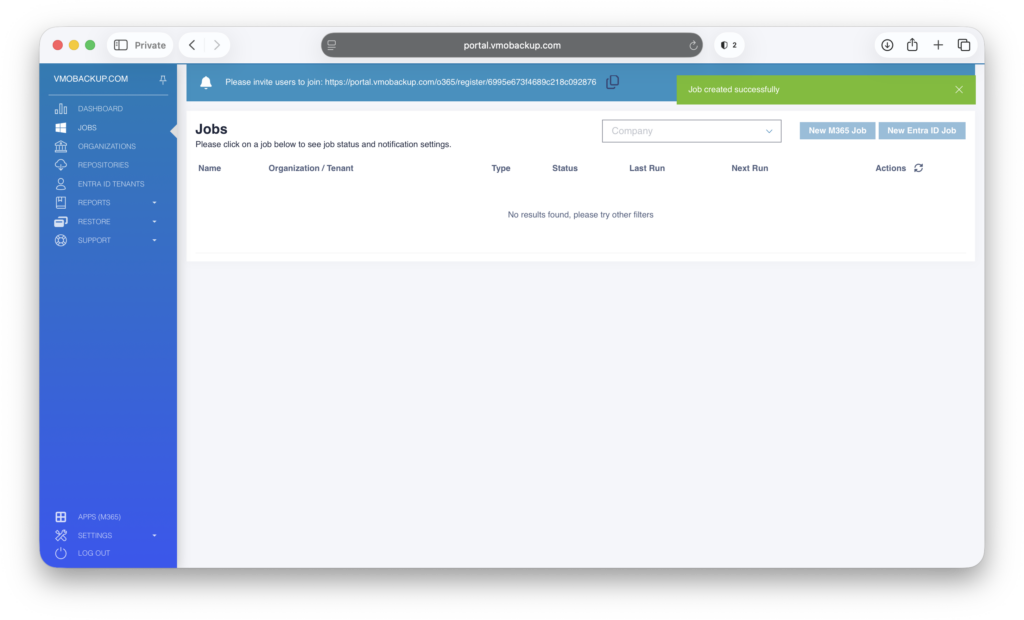
Your Entra ID job is now successfully configured.