
If you’ve decided to reduce your protected data footprint — whether to align with your subscription limits or simply refine what’s backed up — the cleanest and most effective approach is to delete your existing backup job and repository, and then create a new, targeted setup.
Steps to Reset Your Backup Environment #
Step 1: Delete the Existing Backup Job #
Log into the VMOBACKUP portal.
Go to Apps > M365 > Jobs.
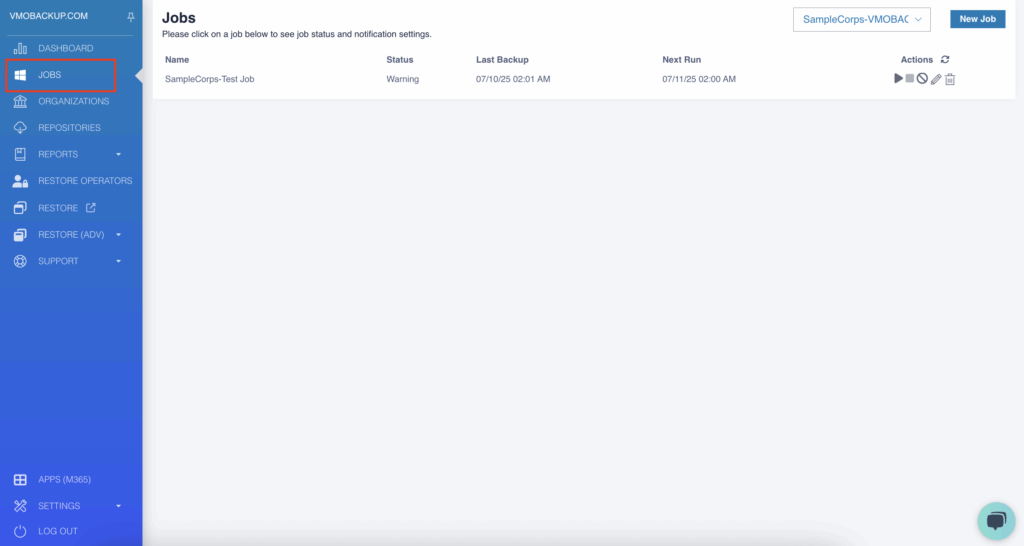
Locate the backup job you want to remove.
Under Actions click Remove.
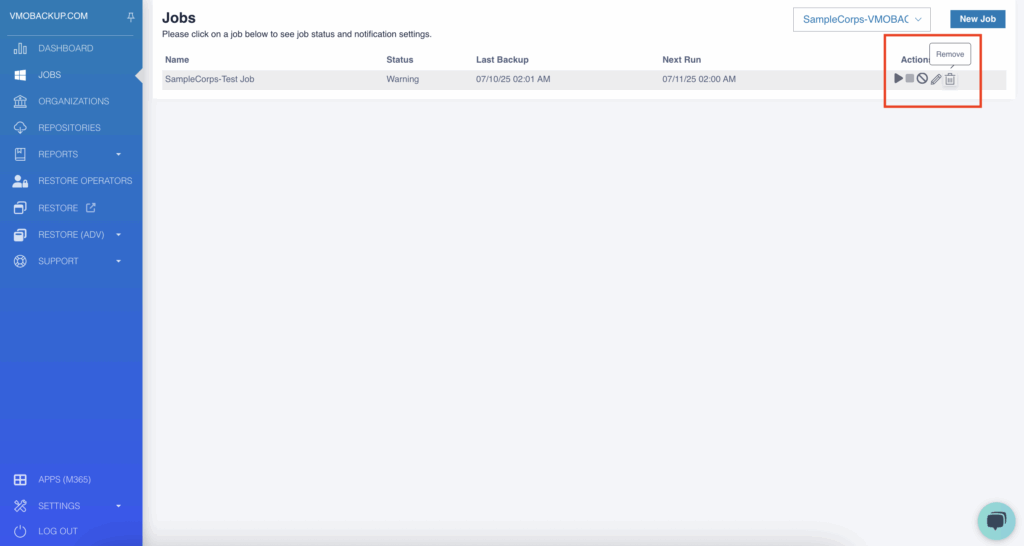
Confirm deletion.
Step 2: Delete the Existing Repository #
Navigate to Apps > M365 > Repositories.
Find the repository tied to the backup job you just deleted.
Under Actions click Remove.
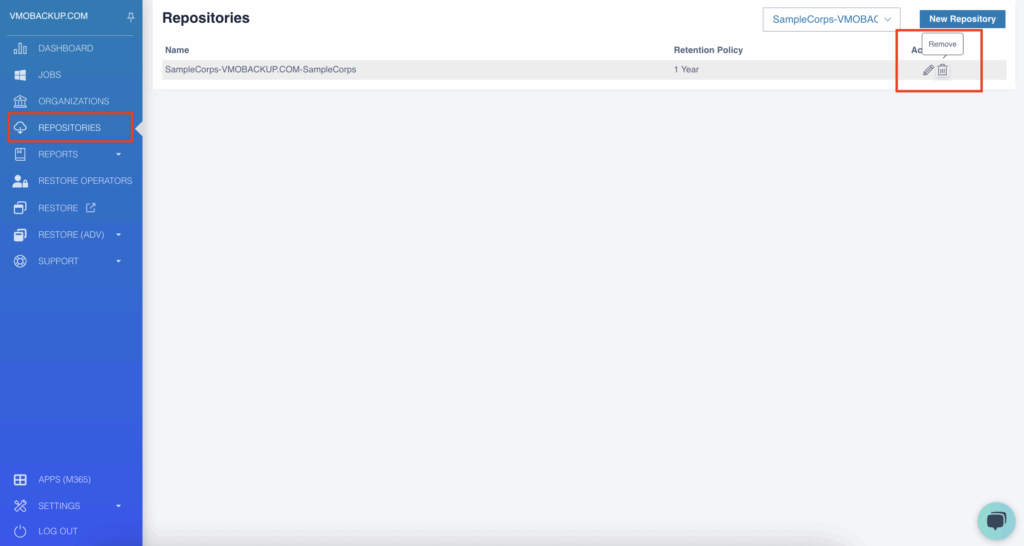
Confirm the deletion.
This will permanently remove the associated backup data. Ensure you no longer need it before deleting.
Step 3: Create a New Repository #
Go to Apps > M365 > Repositories.
Select your Organization and click New Repository.
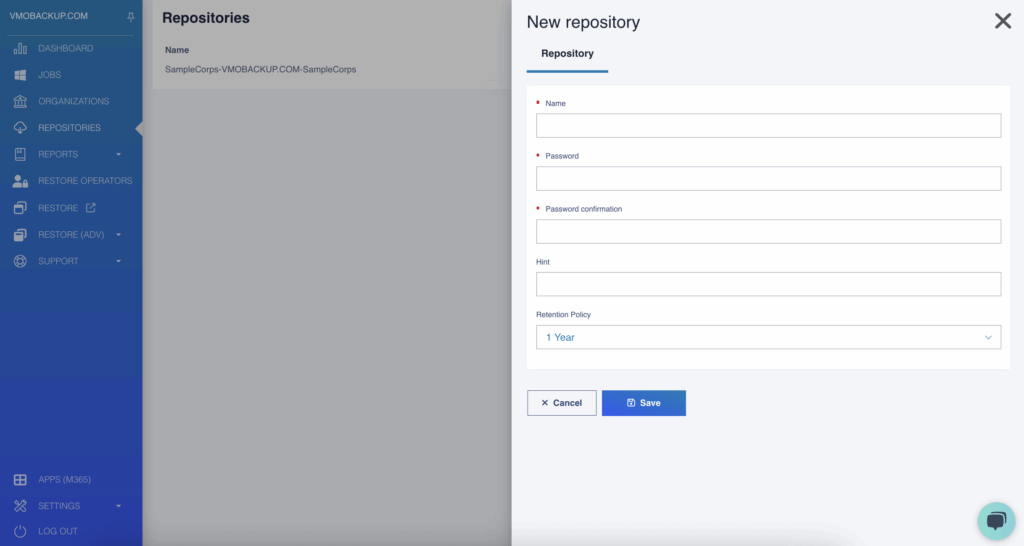
Give it a name that reflects the new scope (e.g., “Priority Teams Only”).
Proceed with creation.
Step 4: Create a New Backup Job #
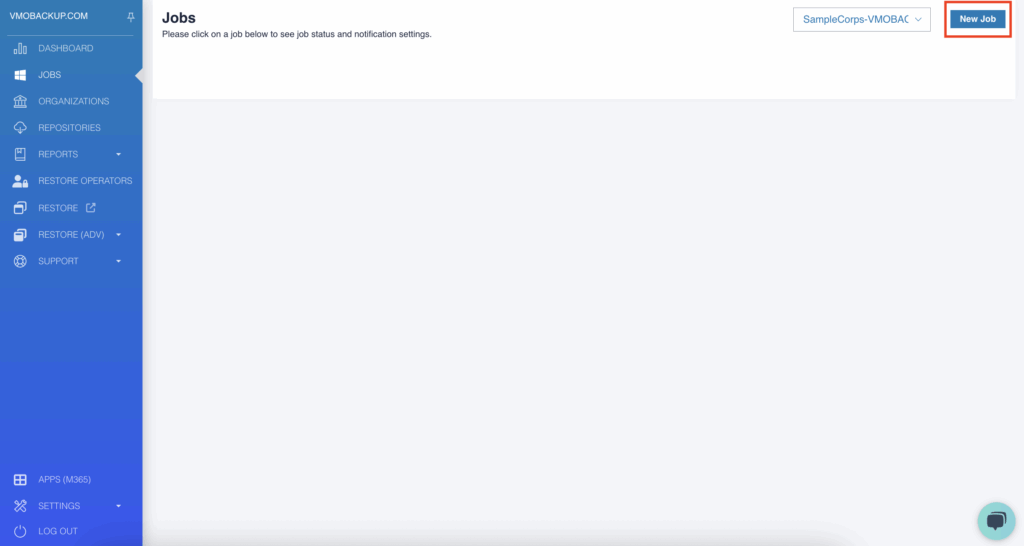
Go to Apps > M365 > Jobs.
Click New Job.
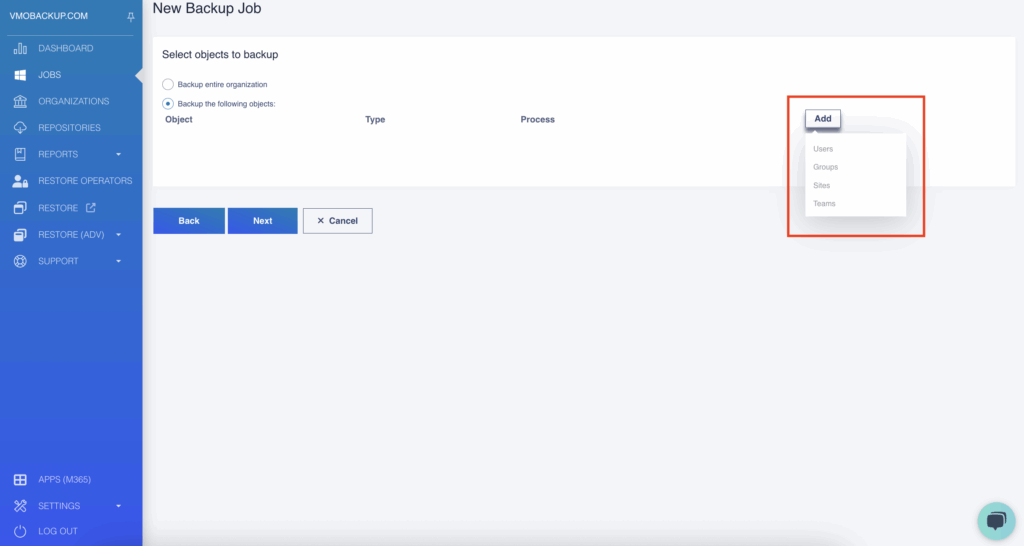
Select only the data or users you now wish to protect.
Select your new repository.
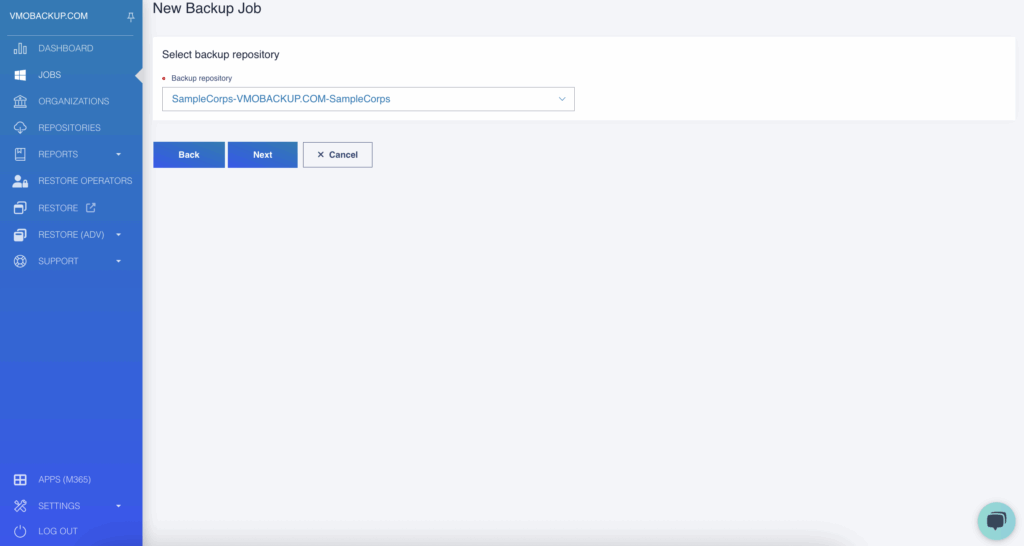
Save and activate the job.
You’re All Set! #
With your new repository and backup job in place, you’ll now be backing up only the data you actually want to protect, while clearing out unwanted storage use from the past.
If you need help reviewing your configuration or selecting specific data, schedule a quick call with our team — we’re happy to assist.